

Step 7: Getting the Rails & Doubler On
- Mar 14, 2017
- 1 min read
Once the all the seams were done it was time to start to think about the rails, gunwales if you prefer. For this I used 1 inch x 2 inch wide strips of spruce. Mixed up some peanut butter and glued them to upper exterior of the sides of the boat.

Spruce gunwales ready to be glued into place.


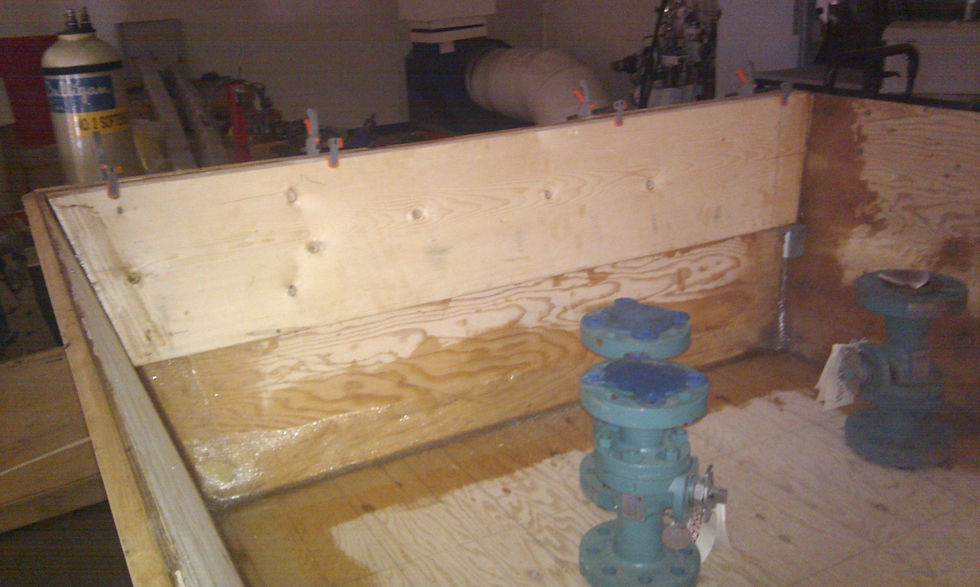
Here the rails are glued and held in place with clamps. I wished I had more of them but it seems to be holding pretty well. I think I'll drive some screws into them from the inside just before I fiberglass the interior of the hull.
Interesting thing here is that once the rails were in place I could remove the main brace and just leave a spreader bar in place. The shape of the boat was pretty much defined.
I did remove the main brace and fiberglass that seam where the main brace was installed after the epoxy cured on the rails.
The last thing I did prior to flipping the boat over was to install the transom doubler. It is a
2 inch x 12 inch spruce board. I mixed up some epoxy and a batch of peanut butter and glued that piece in. Once the epoxy cured I fiberglassed that in as well.
One thing I forgot to mention was that whenever I glued any part together or applied any fiberglass, each surface was coated in epoxy prior to filleting, glassing or gluing.


Comments